| [version en cours de rédaction] | [version en cours de rédaction] |
(Page créée avec « {{Tuto Details |Main_Picture=Initiation_mBot_-_Robot_p_dagogique_1_Photo_1_-_Mbot.jpg |Main_Picture_annotation={"version":"3.5.0","objects":[{"type":"image","version":"3.5... ») |
|||
| Ligne 97 : | Ligne 97 : | ||
{{Tuto Step | {{Tuto Step | ||
|Step_Title=Synchroniser le robot | |Step_Title=Synchroniser le robot | ||
| − | |Step_Content=Allumer le bluetooth de votre téléphone | + | |Step_Content=# Allumer le bluetooth de votre téléphone |
| − | |||
# Poser le téléphone sur le robot | # Poser le téléphone sur le robot | ||
| − | # | + | # Le robot est synchronisé |
| − | |Step_Picture_00=Initiation_mBot_-_Robot_p_dagogique_9_Photo_9_-_mbot.jpg | + | |Step_Picture_00=Initiation_mBot_-_Robot_p_dagogique_10_Photo_10_-_mBlock_Blocky.jpg |
| + | |Step_Picture_00_annotation={"version":"3.5.0","objects":[{"type":"image","version":"3.5.0","originX":"left","originY":"top","left":-178,"top":-45,"width":1200,"height":900,"fill":"rgb(0,0,0)","stroke":null,"strokeWidth":0,"strokeDashArray":null,"strokeLineCap":"butt","strokeDashOffset":0,"strokeLineJoin":"miter","strokeMiterLimit":4,"scaleX":0.65,"scaleY":0.65,"angle":0,"flipX":false,"flipY":false,"opacity":1,"shadow":null,"visible":true,"clipTo":null,"backgroundColor":"","fillRule":"nonzero","paintFirst":"fill","globalCompositeOperation":"source-over","transformMatrix":null,"skewX":0,"skewY":0,"crossOrigin":"","cropX":0,"cropY":0,"src":"https://rennesmetropole.dokit.app/images/f/f0/Initiation_mBot_-_Robot_p_dagogique_10_Photo_10_-_mBlock_Blocky.jpg","filters":[]}],"height":450.54151624548734,"width":600} | ||
| + | |Step_Picture_01=Initiation_mBot_-_Robot_p_dagogique_9_Photo_9_-_mbot.jpg | ||
| + | |Step_Picture_02=Initiation_mBot_-_Robot_p_dagogique_8_Photo_8_-_mBlock_Blocky.jpg | ||
| + | |Step_Picture_03=Initiation_mBot_-_Robot_p_dagogique_11_Photo_11_mbot.jpg | ||
| + | |Step_Picture_03_annotation={"version":"3.5.0","objects":[{"type":"image","version":"3.5.0","originX":"left","originY":"top","left":-1,"top":-93,"width":1200,"height":1600,"fill":"rgb(0,0,0)","stroke":null,"strokeWidth":0,"strokeDashArray":null,"strokeLineCap":"butt","strokeDashOffset":0,"strokeLineJoin":"miter","strokeMiterLimit":4,"scaleX":0.51,"scaleY":0.51,"angle":0,"flipX":false,"flipY":false,"opacity":1,"shadow":null,"visible":true,"clipTo":null,"backgroundColor":"","fillRule":"nonzero","paintFirst":"fill","globalCompositeOperation":"source-over","transformMatrix":null,"skewX":0,"skewY":0,"crossOrigin":"","cropX":0,"cropY":0,"src":"https://rennesmetropole.dokit.app/images/a/a3/Initiation_mBot_-_Robot_p_dagogique_11_Photo_11_mbot.jpg","filters":[]}],"height":450,"width":600} | ||
| + | }} | ||
| + | {{Tuto Step | ||
| + | |Step_Title=Commencer les modules de formation | ||
| + | |Step_Content=Lancer la séquence 1 | ||
| + | |Step_Picture_00=Initiation_mBot_-_Robot_p_dagogique_5_Photo_5_-_mBlock_Blocky.jpg | ||
| + | |Step_Picture_00_annotation={"version":"3.5.0","objects":[{"type":"image","version":"3.5.0","originX":"left","originY":"top","left":-206,"top":-130,"width":1200,"height":900,"fill":"rgb(0,0,0)","stroke":null,"strokeWidth":0,"strokeDashArray":null,"strokeLineCap":"butt","strokeDashOffset":0,"strokeLineJoin":"miter","strokeMiterLimit":4,"scaleX":0.77,"scaleY":0.77,"angle":0,"flipX":false,"flipY":false,"opacity":1,"shadow":null,"visible":true,"clipTo":null,"backgroundColor":"","fillRule":"nonzero","paintFirst":"fill","globalCompositeOperation":"source-over","transformMatrix":null,"skewX":0,"skewY":0,"crossOrigin":"","cropX":0,"cropY":0,"src":"https://rennesmetropole.dokit.app/images/c/c3/Initiation_mBot_-_Robot_p_dagogique_5_Photo_5_-_mBlock_Blocky.jpg","filters":[]}],"height":450.63829787234044,"width":600} | ||
}} | }} | ||
{{Notes}} | {{Notes}} | ||
Version du 28 janvier 2022 à 17:36
Page en cours de rédaction
Vous rêvez de programmer un robot ? Lui demander de tourner à gauche, à droite, d'aller tout droit, d'allumer des lumières, jouer des notes de musiques...


Difficulté
Facile
Durée
1 heure(s)
Public
Grand public
Licence
CC-BY-SA
Type de contenu
Fiche action
Introduction
Grâce à l'application mBlock Blocky, vous allez être accompagné pour découvrir la programmation du robot mBot. Plusieurs ateliers vont vous permettre de prendre en main le robot : Séquence, vitesse, looping, arrêter, attendre, bifurcation, condition, comparer, luminosité, nombres.
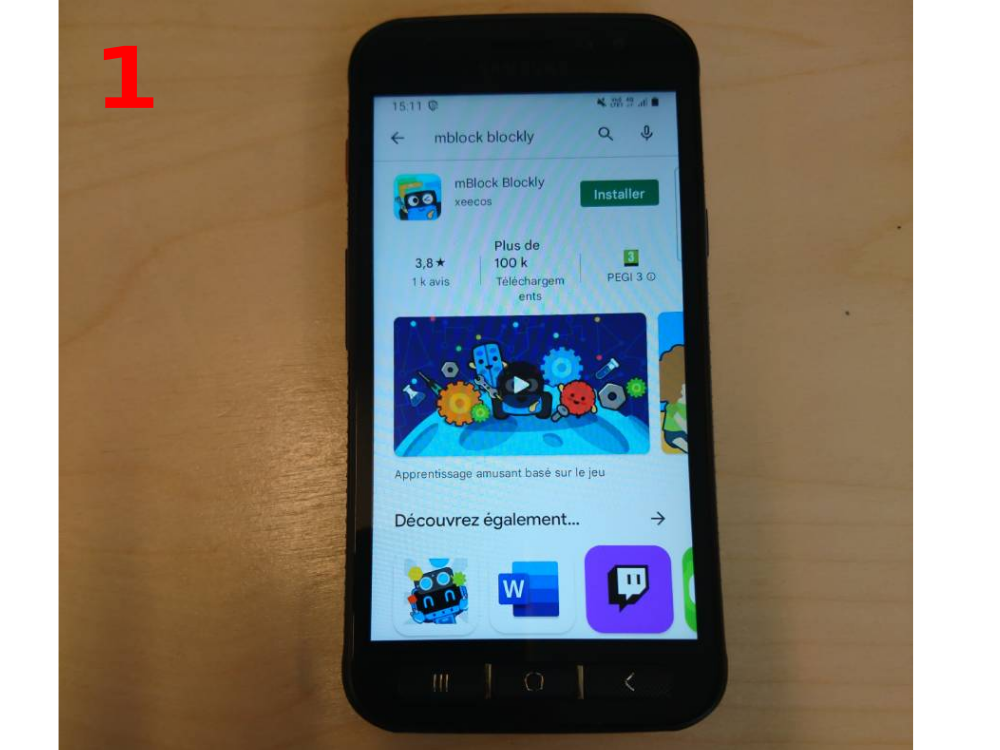
Étape 1 - Télécharger l'application mBlock Blocky
Sur Play Store, rechercher l'application mBlock Blocky
- Cliquer sur installer
- Cliquer sur ouvrir
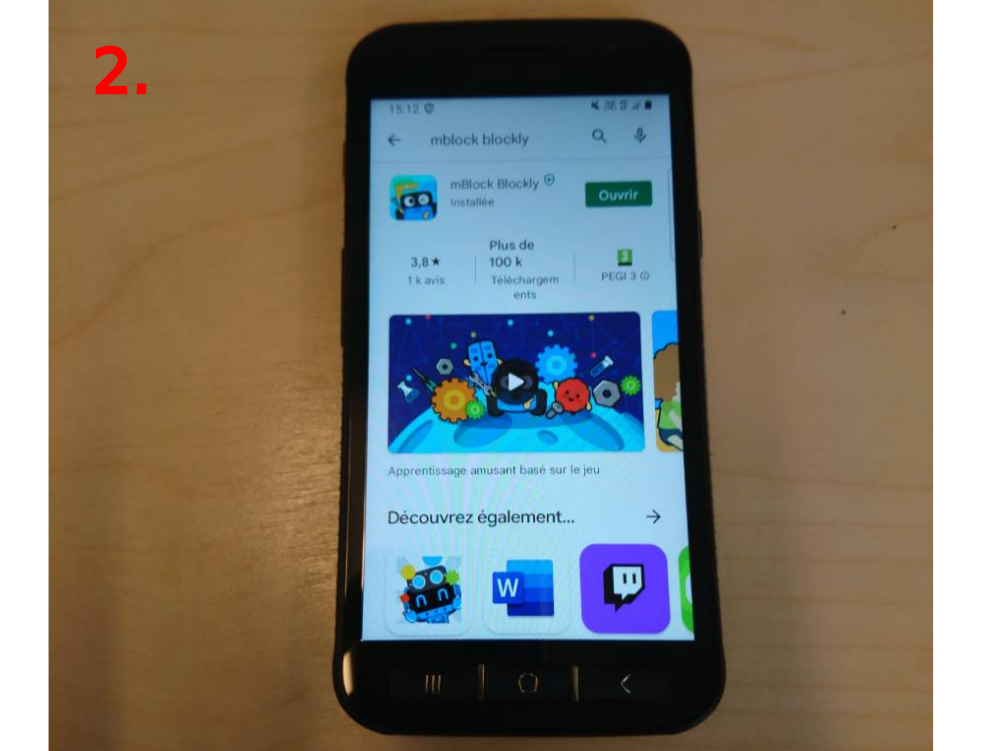
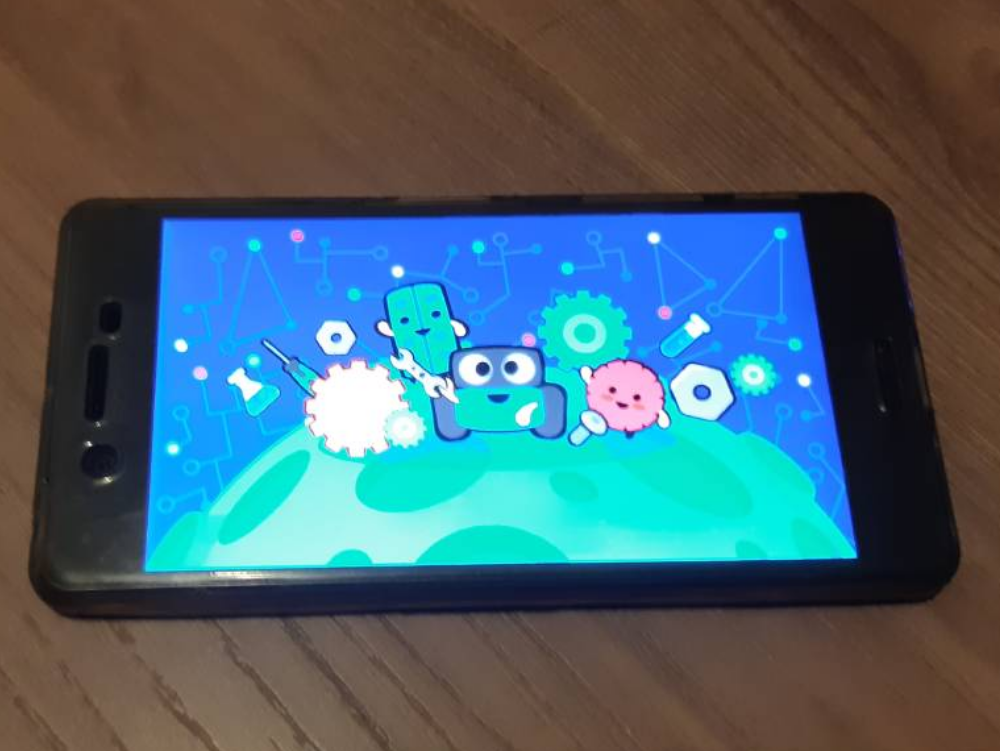
Étape 2 - Ouvrir l'application
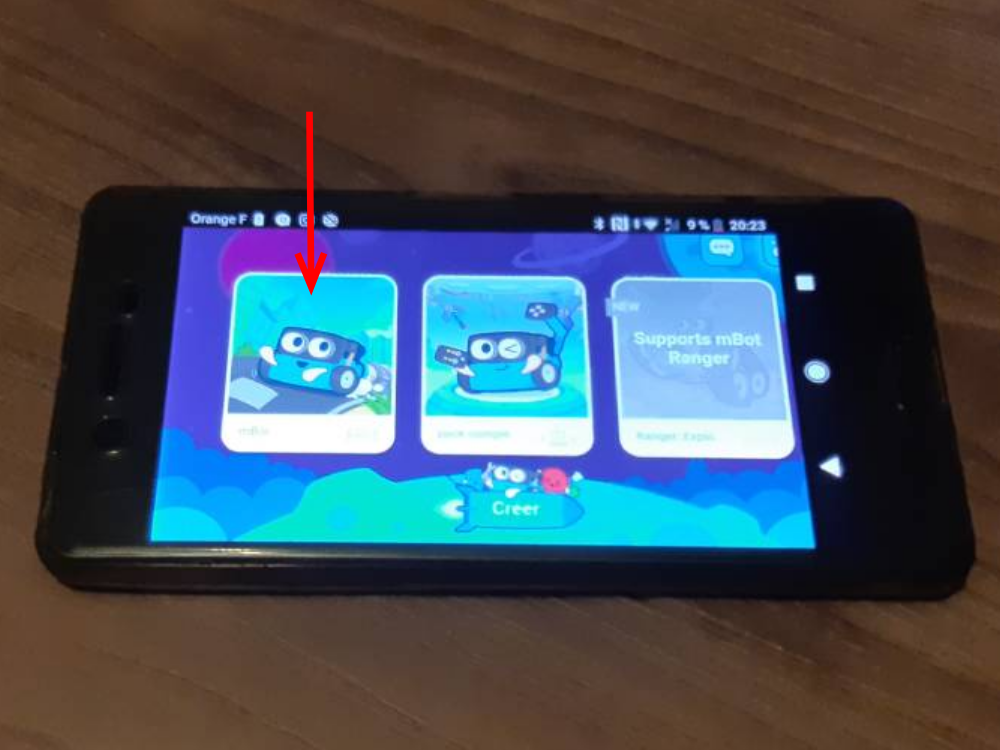
1 Lancer l'application
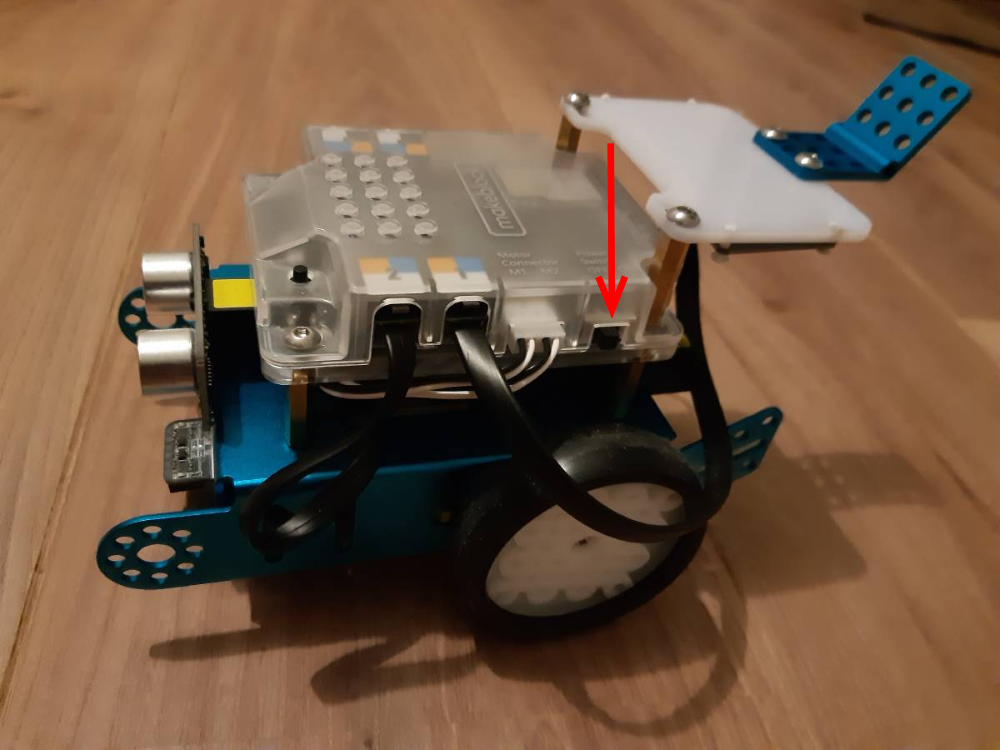
2 Allumer le robot (flèche rouge)
3 Cliquer sur l'onglet mBot
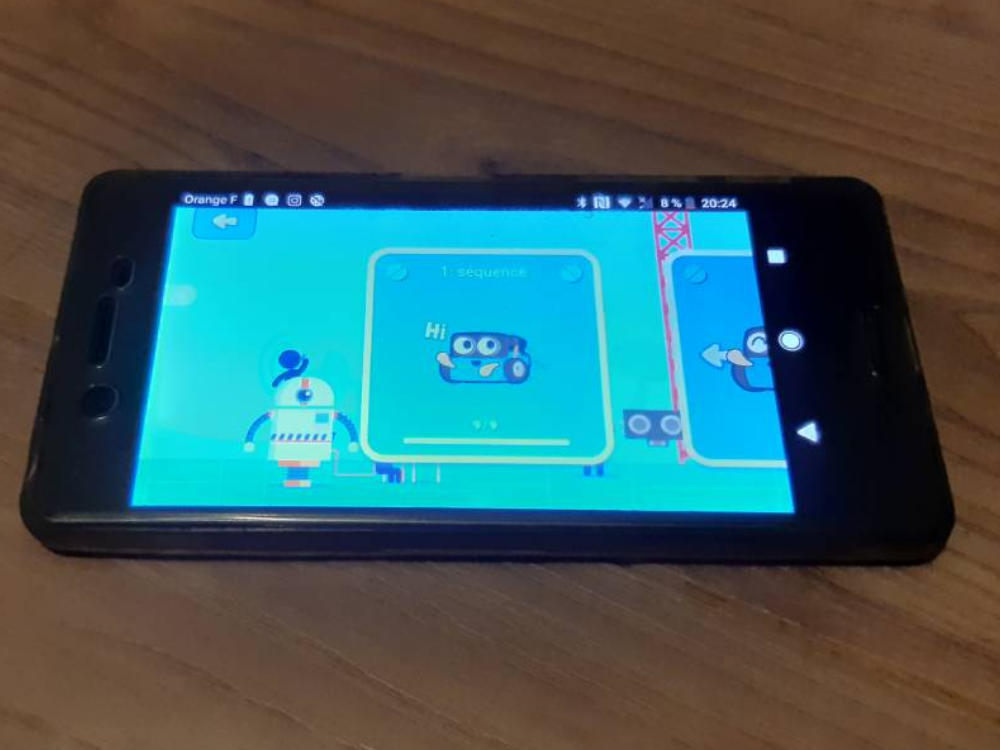
4 Cliquer sur 1. Séquence
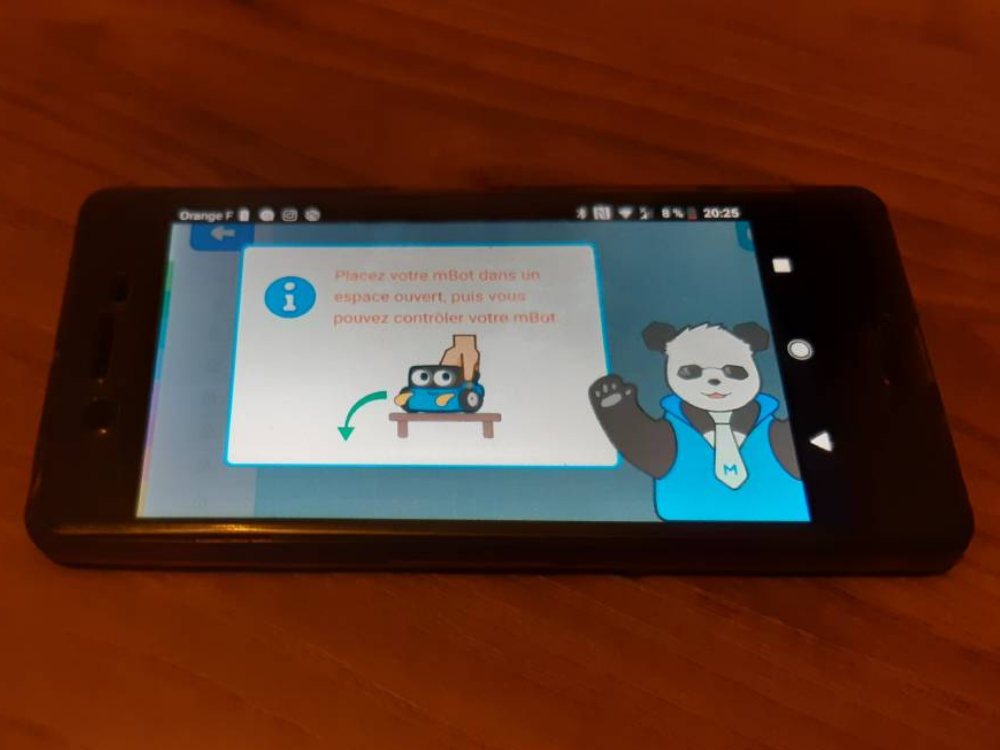
5 Poser le robot dans un espace ouvert
6 Se connecter maintenant

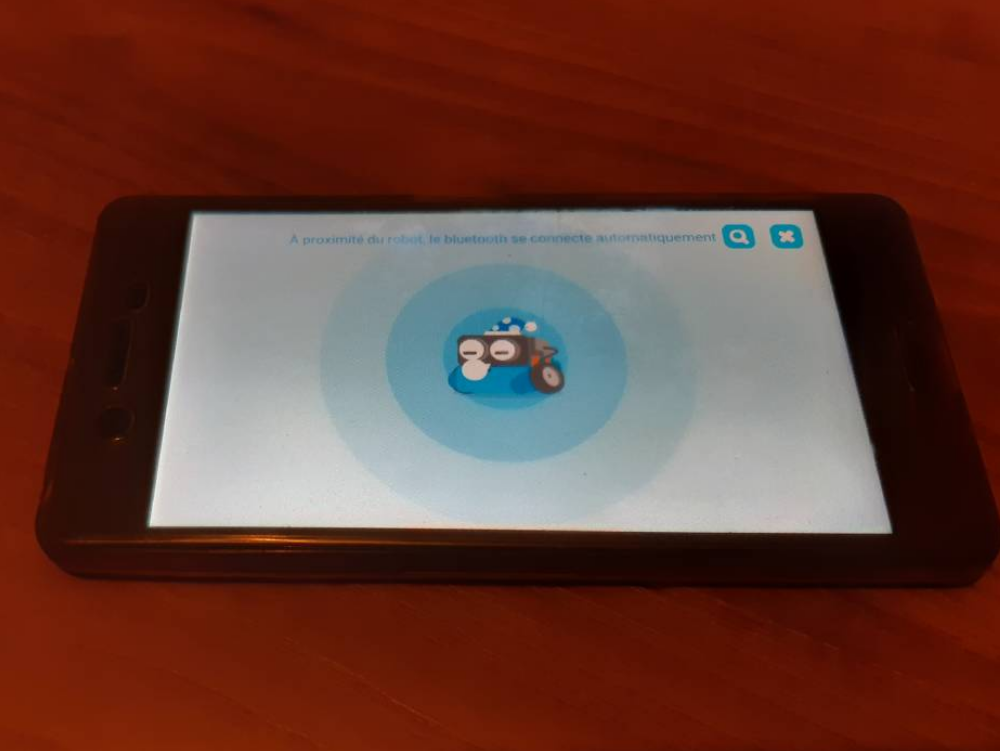
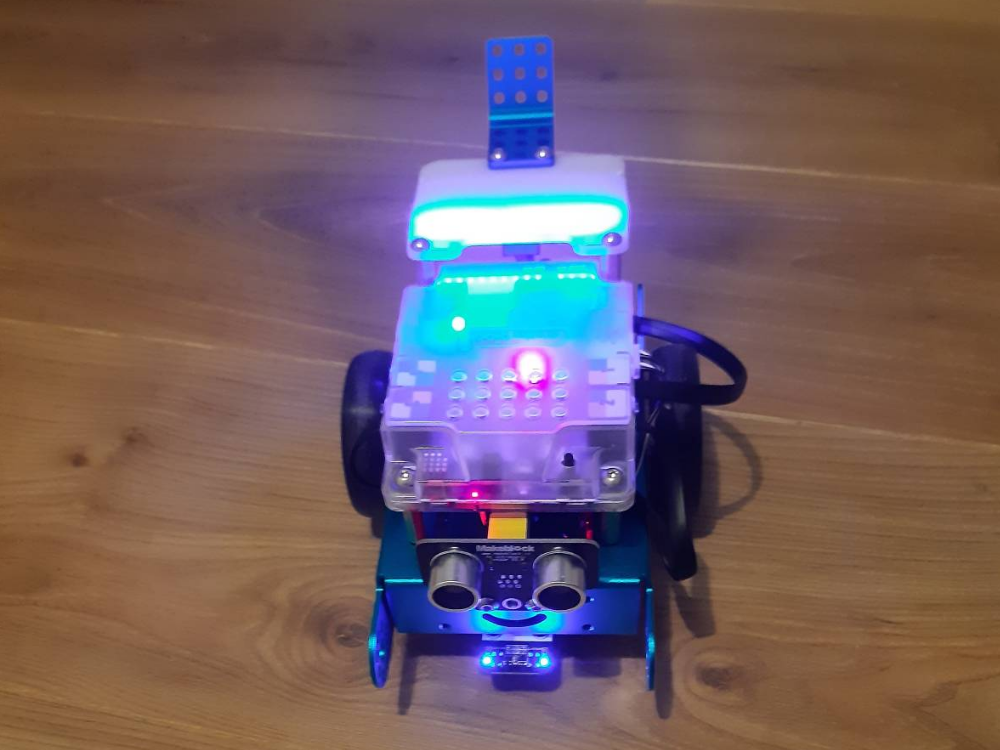
Étape 3 - Synchroniser le robot
Allumer le bluetooth de votre téléphone
- Poser le téléphone sur le robot

Étape 4 - Ouvrir l'application
1 Lancer l'application
2 Allumer le robot (flèche rouge)
3 Cliquer sur l'onglet mBot
4 Cliquer sur 1. Séquence
5 Poser le robot dans un espace ouvert
6 Se connecter maintenant
Étape 5 - Synchroniser le robot
- Allumer le bluetooth de votre téléphone
- Poser le téléphone sur le robot
- Le robot est synchronisé

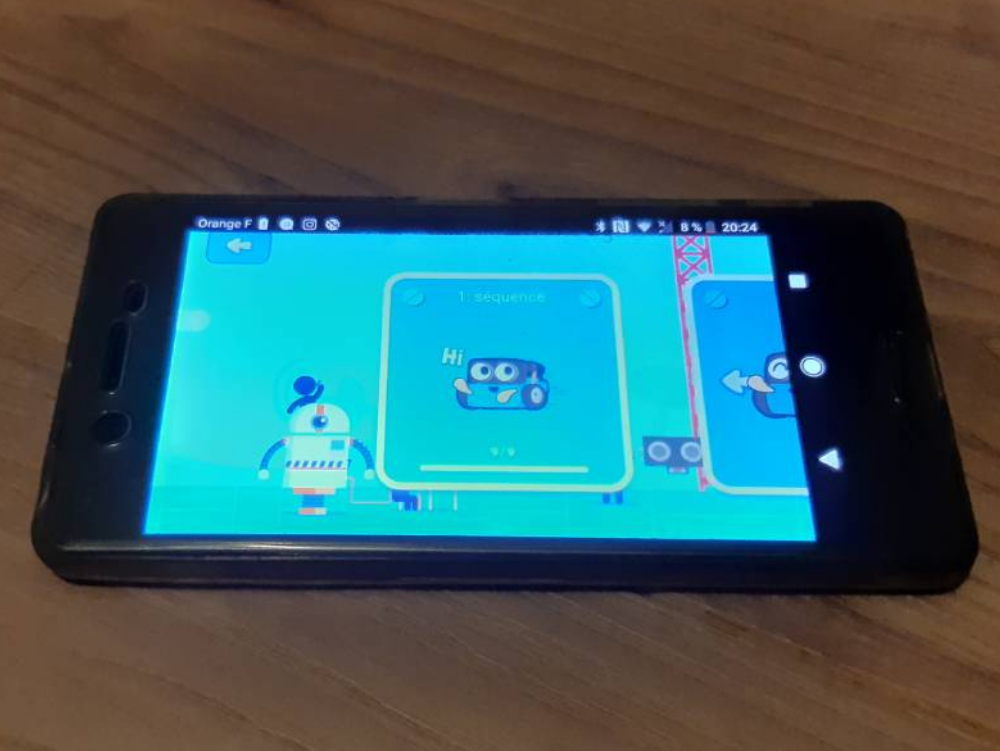
Étape 6 - Commencer les modules de formation
Lancer la séquence 1
Draft